As you know, Ubuntu - Distro is the leading popular distribution of the Linux operating system, developed and distributed free of charge by Canonical Ltd - has a bad interface that can not be loved, fortunately from the version 18.04 LTS onwards has changed the interface so it looks better.
However, I personally find it is still not nice and comfortable to use. So in this article I will guide you How to install skins on Ubuntu Extremely simple and easy!

Read more:
#first. Install GNOME on Ubuntu
Installing the interface on Ubuntu is similar to the way you install the interface on the Windows operating system, but it is a bit more complicated.
The interface that I use as this article runs on GNOME Desktop Environment, because there are many beautiful interfaces and easy customization.
By default, when you install Ubuntu 18.04 or later, it already has GNOME installed by default. But if you do not already have GNOME, you can do the following.
Perform: Open a terminal window by pressing the key combination CTRL + ALT + T => and paste the 2 lines below => and then press ENTER to install. This command will install GNOME as well as select it as the system's default interface. And remember to enter the Root password when prompted.
sudo apt install gnome-session
sudo update-alternatives –config gdm3.css
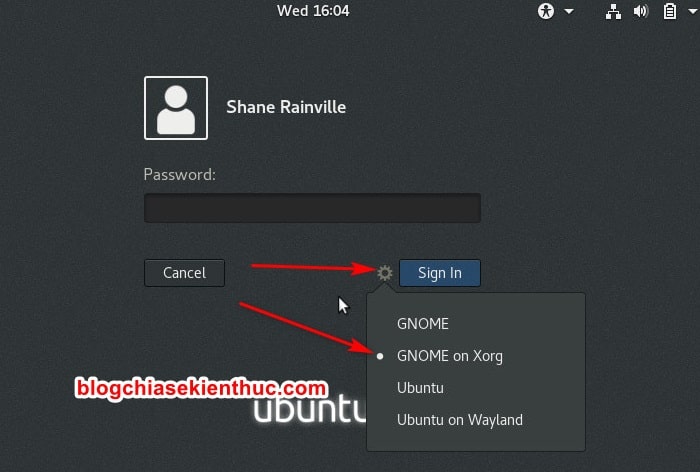
After installation, reboot your computer and go back to Ubuntu operating system, at the login page => you click on the settings icon to the left of the button Sign In => and select Gnome on Xorg That's it then.
#2. How to install the interface on Ubuntu
+ Step 1: Go online and search for an Ubuntu theme that suits your interests, for example I like the flat theme, flat design then I will search with the keyword "Flat theme for Ubuntu" is to be.
Or You can refer to TOP 10 beautiful GNOME Themes for Linux compiled by a fairly famous blog about Ubuntu that is OMGUbuntu here !
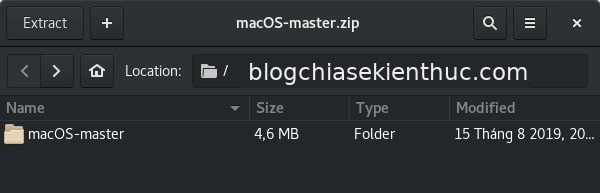
+ Step 2: I will give an example MacOs X theme Always, because I quite like the interface of macOS: D, you can download it here or here => Then extract the file, here I will extract it to the Desktop.
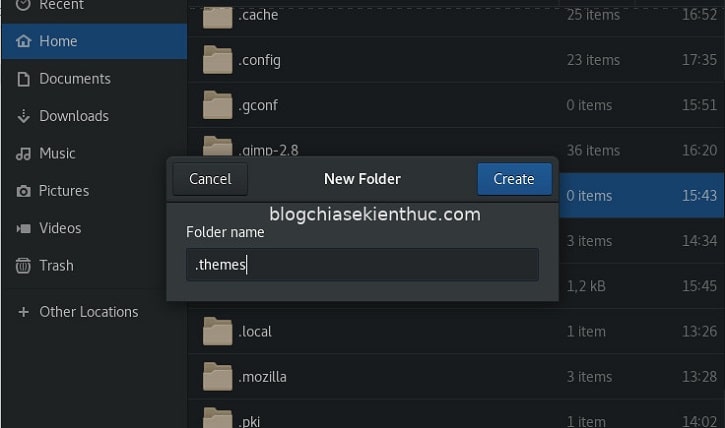
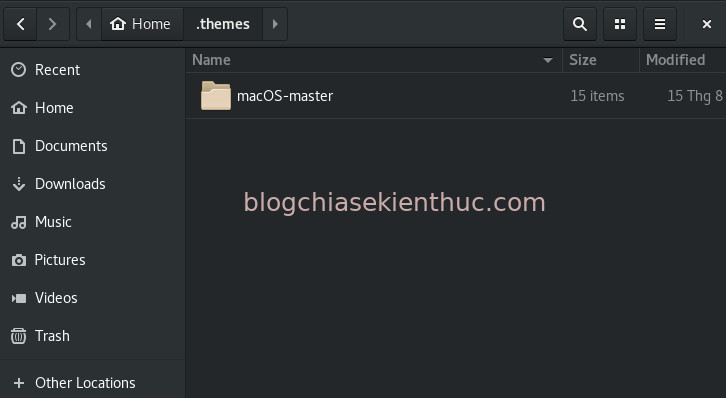
+ Step 3: You then open the file manager of Ubuntu up, in the directory Home You create a subdirectory with the name .themes
This is the folder containing the themes you want to install. Please enter a name and then press Create is done.
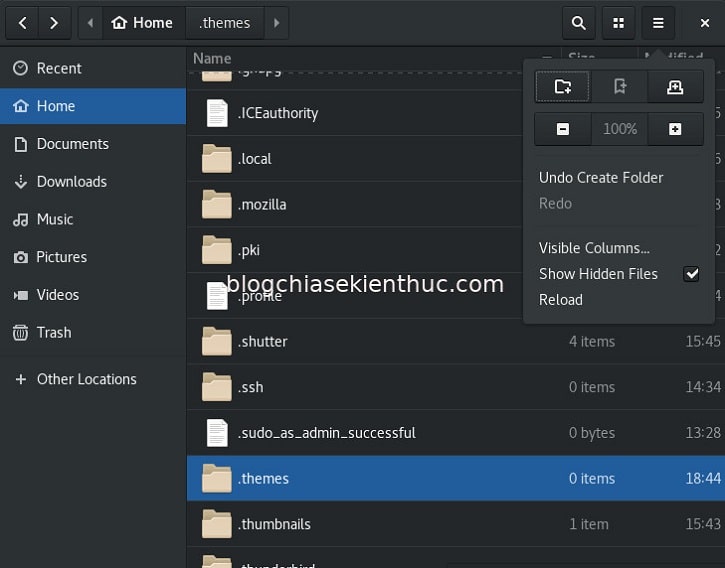
+ Step 4: Folders with accents dot (.) are hidden folders in File Manager of Linux.
So you need to turn on / hide hidden files / folders by clicking the 3 dashes in the horizontal bar of Menu => and then clicking on the function Show Hidden Files is to be.
+ Step 5: Then, copy all the files of the extracted interface => and put them into the directory .themes is considered the process of installing themes for Ubuntu is done.
+ Step 6: Next, to choose the interface we need to use the tool GNOME Tweak Tool, install it using the command line below, in Terminal => window and then press ENTER.
sudo apt-get install gnome-tweak-tool
+ Step 7: Then open GNOME Tweak Tool up => switch to tab Appearance => look to the right, in the section Application => Click on the drop-down menu to see the name of the Theme folder you just put in the folder .themes.
In his example is MacOs-master okay!
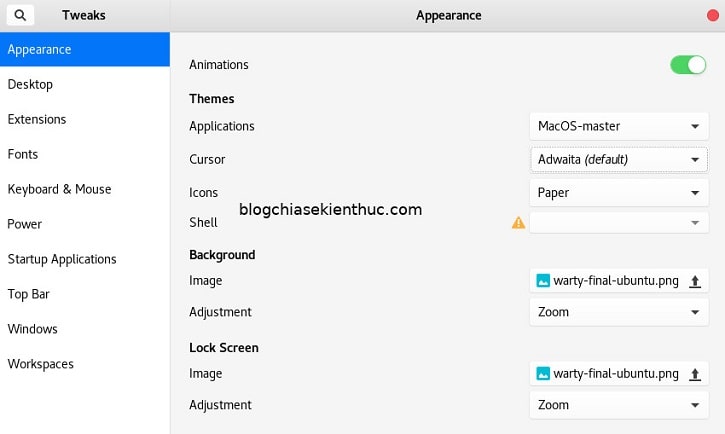
As you can see, my interface has changed just like macOs already, very simple, isn't it 😀
Epilogue
Yes ! Above is his very detailed tutorial about How to install a theme for Ubuntu Alright then. For some themes they provide you, you just need to run some of the commands that they give in the Terminal window => and then go to GNOME Tweak Tool Select the corresponding theme is okay, much simpler.
In addition, GNOME Tweak Tool is a very powerful tool that you can customize the Ubuntu operating system to your liking, but how powerful you can learn more by yourself 😛 Wish you success !
CTV: Nguyen Thanh Tung - Blogchiasekienthuc.com
Note: Was this article helpful to you? Do not forget to rate the article, like and share it with your friends and relatives!

0 Comments